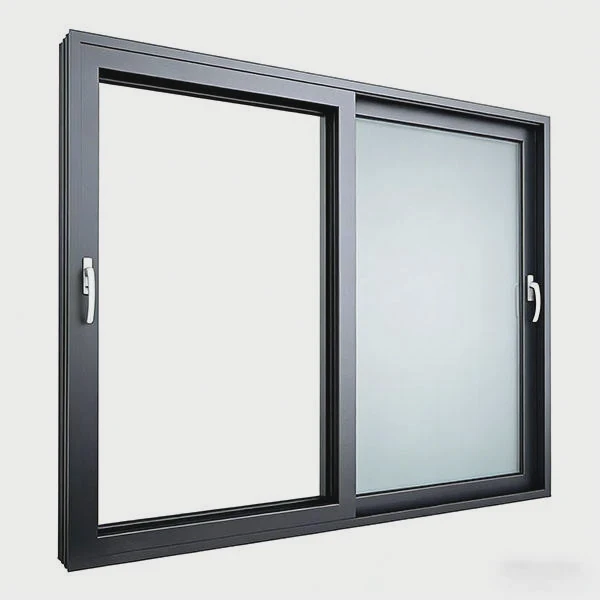
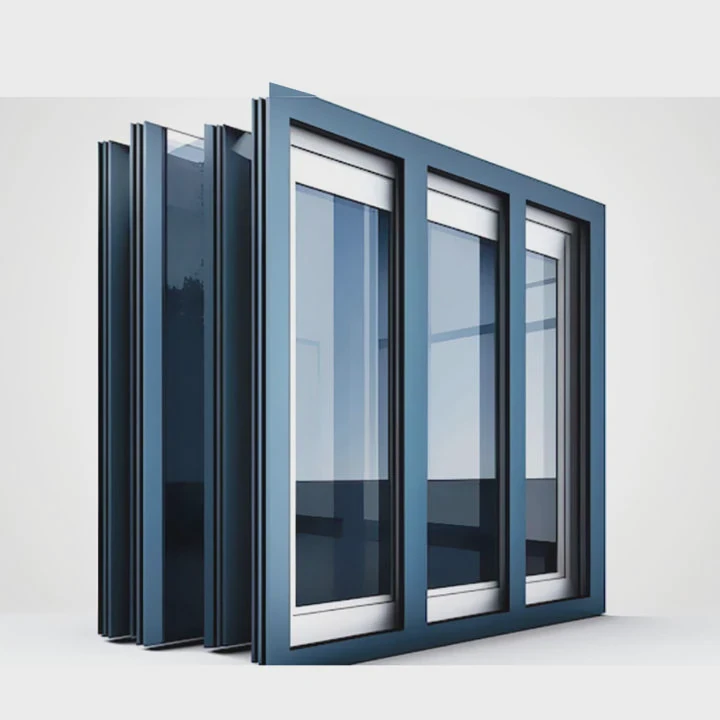
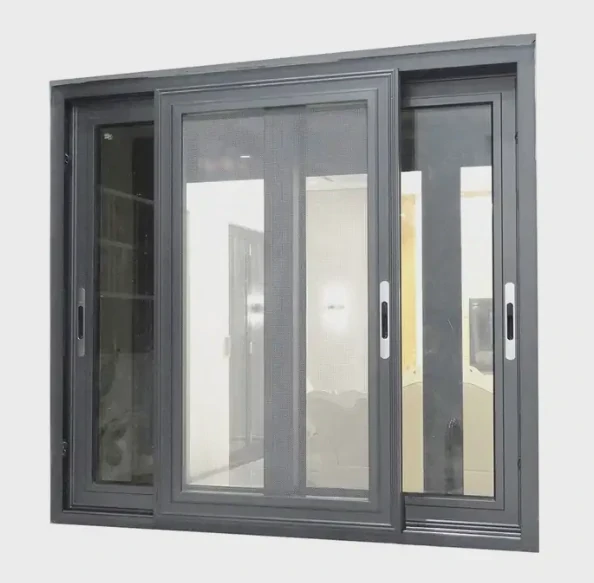
How to Replace Window Glass in Aluminum Frame?
- Zhongya Windows
- 11 Jun ,2026
A cracked or broken window can quickly become a safety risk, increase energy costs, and reduce property security. Many homeowners are unsure where to start when faced with damaged glass in an aluminum frame.
To replace window glass in an aluminum frame, remove the damaged glass carefully, inspect the frame and glazing components, install a correctly sized replacement pane, and secure it using new glazing seals or gaskets when needed. Proper safety equipment and tools are essential throughout the process.
Replacing glass in an aluminum window is often simpler than many people expect. Still, the process requires patience, safety precautions, and attention to detail. Understanding each step helps prevent damage to the frame and ensures the new glass performs properly for years.
What Tools Are Needed for Glass Replacement?

Many DIY projects fail because people begin without the right tools. Using improper equipment can damage the frame, break the replacement glass, or create unnecessary safety hazards.
Glass replacement in an aluminum frame typically requires safety gloves, safety glasses, screwdrivers, a utility knife, glazing tools, measuring tape, suction cups, and replacement glazing materials. The exact tools depend on the window design and glazing system.
Before beginning any glass replacement project, it is important to gather all necessary tools. Stopping halfway through the process often increases the risk of accidents and mistakes.
Essential Safety Equipment
Safety should always come first when working with broken glass.
The most important protective equipment includes:
- Cut-resistant gloves
- Safety goggles
- Long-sleeve clothing
- Closed-toe shoes
Broken glass can create sharp fragments that may not be immediately visible. Proper protection greatly reduces injury risks.
Basic Removal Tools
Most aluminum windows use mechanical fasteners or glazing beads to hold glass in place.
Common removal tools include:
- Flat-head screwdriver
- Phillips screwdriver
- Putty knife
- Utility knife
- Plastic pry tool
Plastic tools are often preferred because they reduce the chance of scratching the aluminum surface.
Measuring and Handling Tools
Accurate measurements are critical when ordering replacement glass.
Useful tools include:
| Tool | Purpose |
|---|---|
| Measuring tape | Measure glass dimensions |
| Glass suction cups | Lift and position glass |
| Marker | Mark measurements |
| Straight edge | Check alignment |
Even a small measurement error can prevent the new glass from fitting correctly.
Installation Materials
Depending on the window design, replacement materials may include:
- Rubber glazing gaskets
- Vinyl glazing strips
- Silicone sealant
- Setting blocks
- Replacement glass panel
Many modern aluminum windows use snap-in glazing beads that secure the glass without excessive sealant.
Why Quality Tools Matter
Cheap or damaged tools can create unnecessary problems.
For example:
- Dull utility knives tear seals instead of cutting cleanly.
- Weak suction cups may lose grip on large glass panels.
- Poor measuring tools increase sizing errors.
A small investment in proper equipment often saves significant time and frustration during installation.
How Do You Remove Damaged Window Glass Safely?
Broken glass can cause serious injuries if removed carelessly. Many accidents happen because people rush the removal process or fail to stabilize loose fragments.
To remove damaged window glass safely, wear protective equipment, secure loose pieces with tape, remove glazing components carefully, and lift out broken sections gradually while preventing additional breakage.
Safe glass removal is often the most important step in the entire replacement process.
Step 1: Prepare the Work Area
Before touching the glass, clear the surrounding area.
Remove:
- Furniture
- Decorations
- Floor coverings
- Fragile items
Place protective sheets beneath the window to catch falling fragments.
Step 2: Stabilize Broken Glass
Large cracks can cause glass to shatter unexpectedly during removal.
A common technique is applying masking tape across the damaged area.
Create a crisscross pattern that helps hold pieces together.
Benefits include:
- Reduced glass movement
- Easier handling
- Lower injury risk
Step 3: Remove the Glazing Beads
Many aluminum windows secure glass using removable glazing beads.
These strips are typically located around the edge of the frame.
Carefully insert a plastic pry tool or putty knife beneath the bead.
Work slowly around the perimeter.
Avoid excessive force because aluminum components can bend.
Step 4: Remove the Glass Panel
After removing the retaining components, the glass can usually be lifted out.
For larger panels:
- Use suction cups
- Ask for assistance
- Support the panel evenly
If the glass is severely shattered, remove loose fragments first before extracting the remaining sections.
Common Mistakes During Removal
Many first-time installers make avoidable errors.
Examples include:
| Mistake | Potential Problem |
|---|---|
| Rushing removal | More glass breakage |
| Using excessive force | Frame damage |
| No safety gloves | Hand injuries |
| Poor cleanup | Hidden glass fragments |
Taking extra time during removal often prevents costly repairs later.
Frame Inspection After Removal
Once the glass is removed, inspect the frame carefully.
Look for:
- Bent aluminum sections
- Damaged corners
- Worn gaskets
- Corrosion
- Dirt buildup
Cleaning the frame thoroughly before installation improves the performance of the replacement glass.
A contractor once described spending more time cleaning and inspecting the frame than replacing the actual glass. That extra effort prevented sealing issues that could have appeared months later.
When Should Glazing Seals Be Replaced Too?
Many people focus only on the broken glass and ignore the condition of the surrounding seals. Old glazing components can compromise the performance of an otherwise perfect glass replacement.
Glazing seals should be replaced when they show cracking, shrinking, hardening, water leakage, air infiltration, or visible wear. Installing new seals during glass replacement often improves weather resistance and energy efficiency.
The glazing system is just as important as the glass itself.
A damaged seal can allow:
- Water intrusion
- Drafts
- Condensation
- Energy loss
Signs of Seal Deterioration
Rubber and vinyl components naturally age over time.
Common warning signs include:
- Cracks
- Brittleness
- Shrinkage
- Discoloration
- Gaps around the glass
Older windows often contain seals that have exceeded their intended service life.
Why Replacing Seals Makes Sense
Glass replacement provides convenient access to glazing components.
Because the glass is already removed, replacing worn seals requires little additional labor.
Benefits include:
| Benefit | Result |
|---|---|
| Better weather protection | Reduced leaks |
| Improved insulation | Lower energy costs |
| Better appearance | Cleaner installation |
| Longer service life | Fewer future repairs |
Many professionals automatically recommend replacing old seals during glass replacement.
Water Leakage Problems
Water stains around the window often indicate seal failure.
Signs include:
- Damp interior trim
- Mold growth
- Paint damage
- Condensation issues
Installing new glass without correcting seal problems may only provide a temporary solution.
Air Infiltration Issues
Drafts around aluminum windows are often caused by deteriorated glazing components.
A fresh gasket system helps:
- Improve comfort
- Reduce heating costs
- Reduce cooling costs
- Improve indoor air control
Choosing Replacement Seals
Always use glazing materials compatible with the original window system whenever possible.
Factors to consider include:
- Thickness
- Material type
- UV resistance
- Weather performance
Using the wrong seal profile can affect both appearance and function.
For many projects, replacing aging seals at the same time as the glass provides one of the highest returns on investment.
Can Homeowners Replace Aluminum Window Glass Themselves?
Many homeowners want to save money by handling repairs themselves. Yet some glass replacement projects are more complicated than they initially appear.
Homeowners can often replace aluminum window glass themselves when dealing with small to medium-sized single-pane windows. Large panels, insulated glass units, high-rise installations, and specialty glazing systems may require professional assistance.
DIY replacement can be successful under the right circumstances.
The key is understanding the limits of the project.
Projects Suitable for DIY Repair
Many homeowners can manage replacement when:
- The window is easily accessible
- The frame is undamaged
- The glass size is manageable
- Standard glazing systems are used
Smaller residential windows are often good candidates.
Projects Better Left to Professionals
Certain situations involve greater risk.
Examples include:
- Double-glazed insulated units
- Triple-glazed systems
- Tempered safety glass
- Laminated glass
- Large commercial windows
- High-elevation installations
Professional installers have specialized equipment for handling these systems safely.
Cost Comparison
DIY replacement can reduce labor expenses.
Typical cost considerations include:
| Expense Category | DIY | Professional |
|---|---|---|
| Glass purchase | Required | Required |
| Tools | Required | Included |
| Labor | None | Additional cost |
| Risk of mistakes | Higher | Lower |
The potential savings should be weighed against the possibility of incorrect installation.
Skills Required
Successful replacement requires several basic skills:
- Accurate measuring
- Careful handling
- Safe glass removal
- Attention to detail
- Patience
Most failures occur because measurements are inaccurate rather than because installation is difficult.
Questions to Ask Before Starting
Before attempting the repair, consider:
- Is the frame structurally sound?
- Can the glass be removed safely?
- Is replacement glass readily available?
- Is the window located at ground level?
- Am I comfortable handling glass?
Honest answers help determine whether DIY installation is realistic.
Knowing When to Call a Professional
Professional assistance is often worthwhile when:
- The frame is damaged.
- Water leakage exists.
- Specialty glass is required.
- Building codes apply.
- Safety concerns exist.
Many experienced homeowners complete simple replacements successfully. However, recognizing when expert help is needed can prevent expensive mistakes and improve long-term window performance.
Conclusion
Replacing window glass in an aluminum frame involves careful preparation, safe glass removal, accurate measurements, and proper installation techniques. Using the right tools, inspecting glazing seals, and understanding the project’s complexity can help ensure a successful repair. For simple windows, many homeowners can complete the task themselves, while larger or specialized systems may benefit from professional installation.